AI Visual Inspection for Manufacturing and How to Plan a Reliable Pilot
TL;DR: AI visual inspection should start with a clearly defined defect, a repeatable image-capture setup and a practical response when the system is uncertain. Evaluate the complete inspection station under real production conditions, including false rejects, missed defects and the work left for operators.
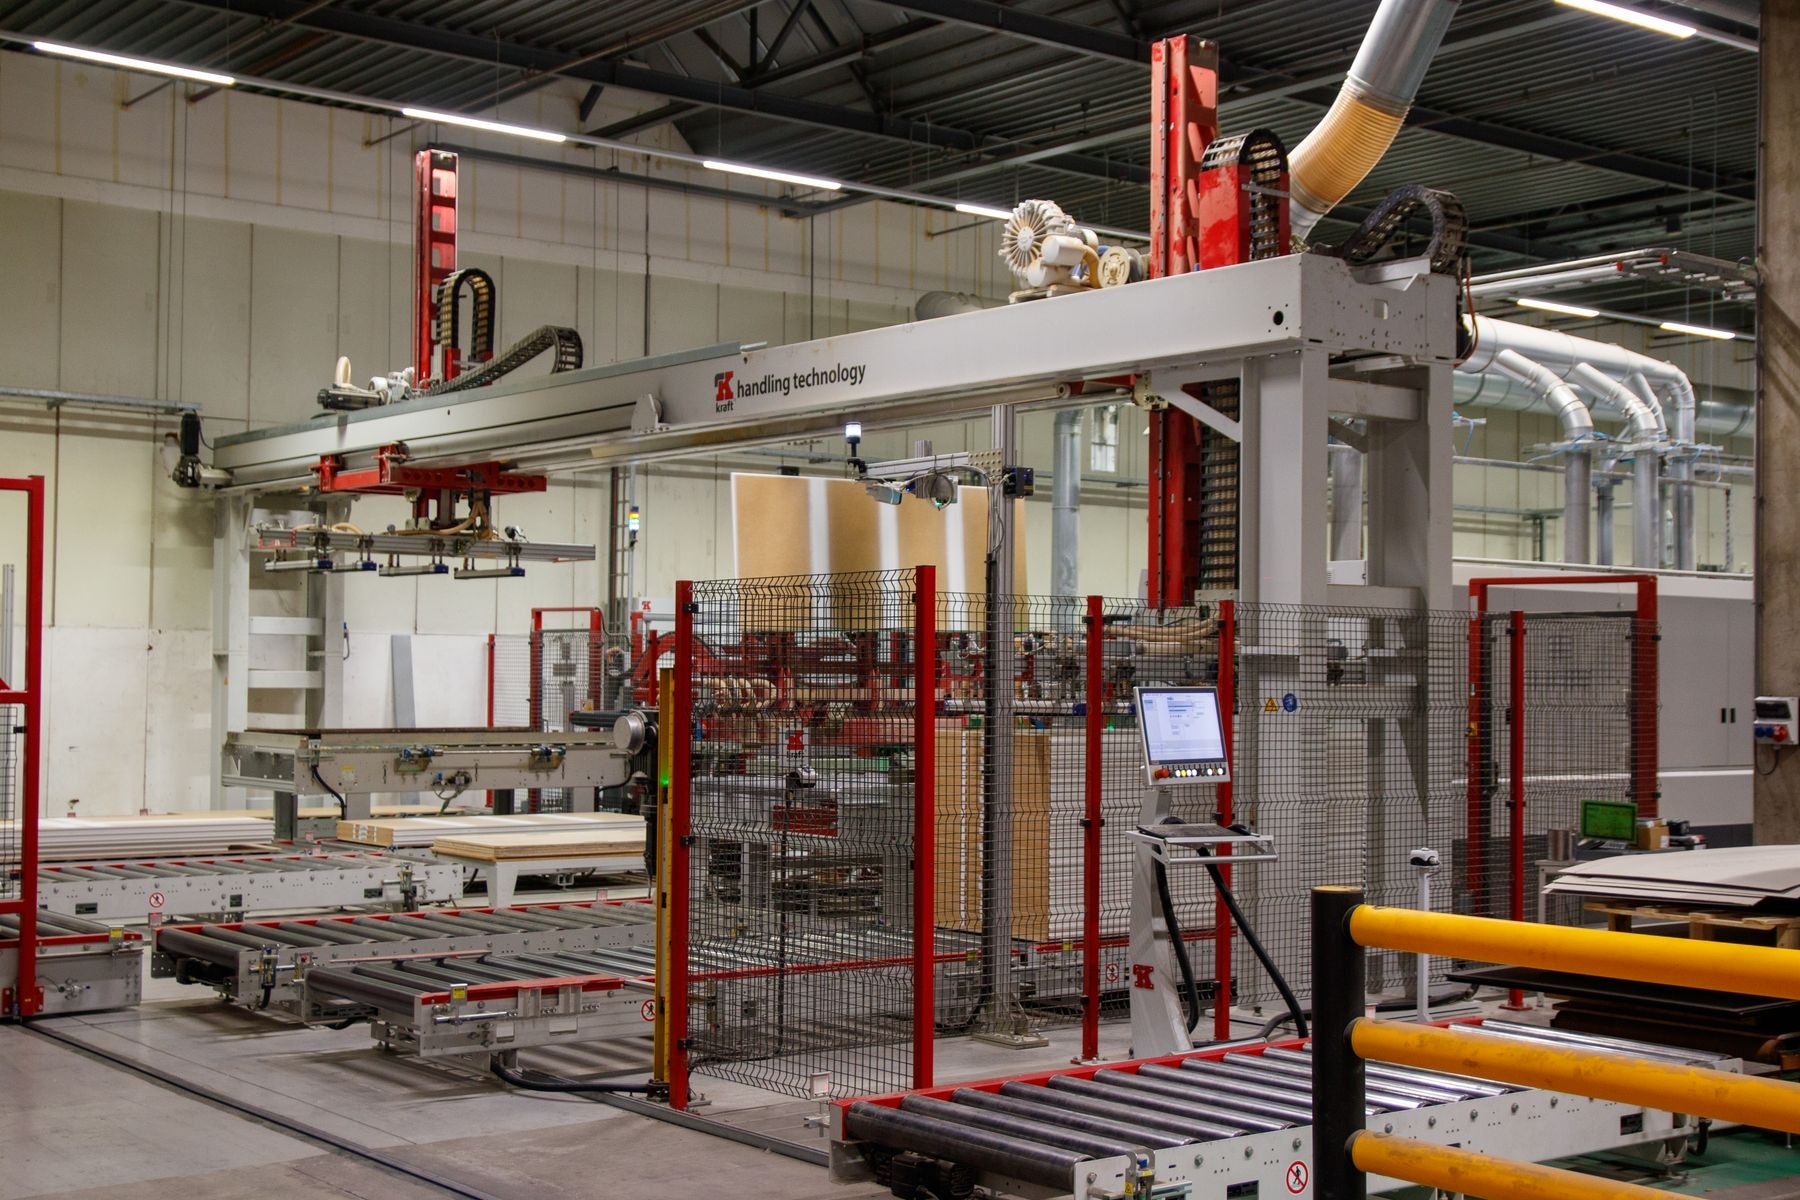
Illustrative photography by Freek Wolsink / Pexels.
Introduction
Can your inspection system recognise the defect that matters, or does it mainly recognise the conditions in the demonstration? AI visual inspection is a promising option for quality teams, but the camera, lighting, product variation and response process are part of the system.
Recent developments show how closely inspection is being connected with production engineering. On 21 October 2026, Siemens announced a collaboration with NVIDIA around digital-twin and synthetic-data workflows for preparing PCB inspection [1]. The announcement describes a development direction and project targets; it is not a performance guarantee for a different factory.
For a first project, begin with the inspection decision on your own line. A narrow and measurable pilot is more useful than a broad promise to automate quality control.
What Is AI Visual Inspection
AI visual inspection is the use of machine-learning models to analyse images and identify conditions relevant to a defined quality-checking task.
The task might involve finding a known defect, checking the presence of a component or identifying an unusual appearance. Anomaly detection is a related approach that looks for departures from expected examples. MVTec's industrial anomaly-detection resources provide research context for these methods [2].
An inspection application also needs to connect the image result with an operational decision. That may mean flagging a product for review, recording evidence or issuing a signal to another system. The permitted response should be defined separately from the model's prediction.
Why the Inspection Station Matters
A change in presentation can resemble a change in product quality. A shiny surface, a shifted camera or a different background may affect what appears in an image. Testing only a convenient sample does not reveal how the station handles the normal variation of a shift.
Before selecting a model, clarify:
- Which defect or condition the team needs to detect.
- The smallest relevant feature and where it can appear.
- Normal variation in materials, colours, shapes and positioning.
- Image capture at the intended line speed and working distance.
- The action an operator takes after an alert or uncertain result.
A vision project can expose disagreements about the inspection standard itself. Use the pilot to resolve those disagreements with quality staff rather than asking a model to decide what acceptable quality means.
How to Design an Inspection Pilot
Define the decision and its consequences
Write an operational description of the defect. A cosmetic mark, a missing part and an incorrect label are different tasks. Specify what evidence a quality reviewer needs to decide whether the system is right.
Then describe the consequences of each error type. A false reject creates unnecessary review or waste; a missed defect can move an unacceptable product further through the process. The acceptable balance must come from the business context, not from a generic accuracy target.
Compare the detection approaches
The starting method depends on the appearance of the product and the inspection question. This comparison describes possible approaches rather than a universal sequence of upgrades.
| Approach | Potential fit | Main question for the pilot |
|---|---|---|
| Rules-based vision | Stable geometry and a clearly specified visual test | Does normal variation cause the rule to fail |
| Supervised defect detection | Defect categories with representative labelled examples | Are rare and changing defects represented |
| Anomaly detection | A well-understood normal appearance with unusual deviations | Can the system separate harmless variation from relevant faults |
The best first design may combine a reliable capture station with a simple method. Adding a more complex model cannot recover visual detail that the camera did not capture.
Collect examples from the intended operating conditions
An illustrative pilot could inspect moulded components for a missing feature or a visible surface issue. Capture acceptable products as carefully as defective ones. Include variation across batches, shifts and the product versions that the initial release will support.
Keep the review labels connected to the source images and the reason for the label. If two reviewers disagree, resolve the inspection rule before treating the example as ground truth. Reserve separate data for evaluation rather than grading the system only on images used during development.
Make an uncertain result operationally useful
Give the operator a clear view of the product image and the flagged region where appropriate. Distinguish a suspected defect from a capture problem such as a missing or unreadable image. Those cases may require different responses.
Decide what happens when the camera or inference service is unavailable. The correct response could be manual inspection or a clearly signalled process interruption, depending on the line. Do not allow a missing prediction to be interpreted silently as a passed item.
Test the complete timing and handoff
Measure the time from the relevant capture event to the usable output. Include image transfer, processing, any business logic and the destination signal. A model-only timing does not establish whether the complete station fits the process.
Also observe the operator's workload. An alert that takes too long to investigate may be impractical even if the visual model finds relevant regions. Design the screen, acknowledgement and evidence record around the actual quality process.
Plan for changes after the pilot
Agree on what triggers a review: a new product version, a camera replacement, a lighting adjustment or an increase in unresolved alerts. Keep the model version and capture configuration connected to the recorded results.
Synthetic examples may help explore difficult conditions, but they should not replace testing on real production material. The Siemens announcement is useful current context for preparation workflows [1]; your release decision still needs evidence from the station and products you intend to operate.
Practical Steps for an Inspection Trial
- Select one inspection decision and a bounded product scope. Agree on the definition of an unacceptable item.
- Assess whether the capture setup reveals the required detail. Test lighting, position and line conditions before increasing model complexity.
- Build and review a representative image set. Keep evaluation examples separate from development material.
- Compare suitable methods using the same acceptance criteria. Review false rejects and missed defects separately.
- Prototype the operator response and failure states. Include an unavailable camera or processing service.
- Run a controlled trial and record the complete station outcome. Expand only after quality and operations owners review the results.
Common Mistakes to Avoid
- Quoting one accuracy number without explaining defect types and test conditions.
- Treating all normal product variation as a defect.
- Testing images from one batch and assuming the result covers every shift.
- Ignoring the station's behaviour when no valid image is available.
- Deploying without ownership of cameras, models and operator feedback.
Avoid turning a research benchmark into a promise for your line. Public datasets can inform method selection, but the production decision should use representative evidence from the intended environment and inspection standard.
Frequently Asked Questions
Can AI visual inspection replace every manual quality check?
No. Suitability depends on what is visible, the inspection standard and the consequences of error; some checks will still require another method or human judgement.
What is the difference between defect detection and anomaly detection?
Defect detection can target known categories, while anomaly detection looks for departures from an expected appearance. Neither automatically determines whether a deviation is unacceptable for your process.
Do we need to improve the camera setup before training a model?
If the relevant detail is not captured consistently, the imaging setup needs attention. Test image quality and repeatability as part of the pilot.
What determines an inspection project's cost and timing?
The product scope, imaging hardware, data preparation, integration and operating requirements contribute. Estimate a defined inspection station rather than a general factory-wide AI system.
Does a high test accuracy mean the system is ready for production?
Not by itself. Review the test conditions, error types, operator workflow and failure behaviour before making a release decision.
Conclusion
An inspection pilot succeeds when the quality team can verify what the system found and act on the result. Define the defect, stabilise image capture and evaluate the whole station before expanding its role. Discuss a visual inspection use case with Webbies.
Related reading
- Webbies Generative AI services for computer vision and image analysis capabilities.
- Webbies IoT services for connecting devices, software and live operational information.
Sources
- [1] Siemens and NVIDIA PCB inspection announcement, 21 October 2026. Current direction in inspection preparation and synthetic data.
- [2] MVTec anomaly detection, accessed 27 October 2026. Method background and research context.
- [3] MVTec AD dataset overview, accessed 27 October 2026. Industrial visual anomaly-detection benchmarking context.
Discuss your project
Review one inspection decision and its capture conditions with Webbies.